

How to setup a VoIP Account on a Grandstream phone
A guide on how to setup a Hosted Network VoIP Extension on a Grandstream phone.
These instructions may vary depending on Grandstream model and firmware version.
Step 1 - Locate the IP Address of the phone.
Majority of the models of Grandstream you are able to press the "Up" arrow on the phone to display the IP Address, MAC Address and Firmware.
Other models require you to go through the settings to locate it or press a different button on the screen to display it.
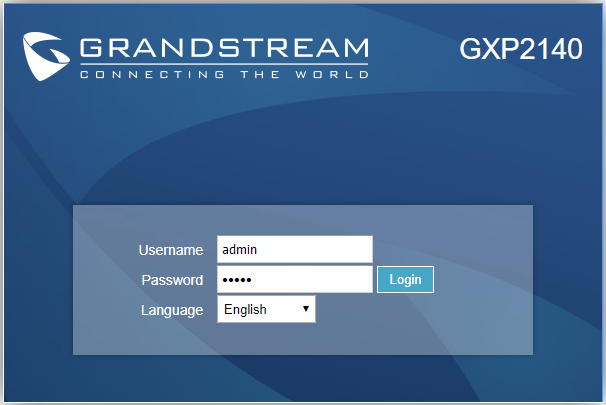
Step 2 - Put the IP Address into a browser and enter the credentials of the phone
If the phone hasn't been previously modified/customised then the credentials should be admin for the username and password
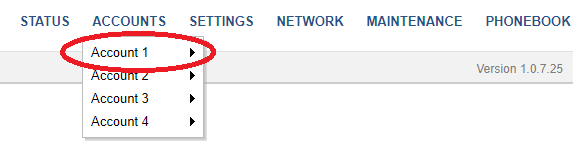
Step 3 - Once logged in click on "Accounts" in the menu at the top of the screen, then select "Account 1" from the dropdown menu
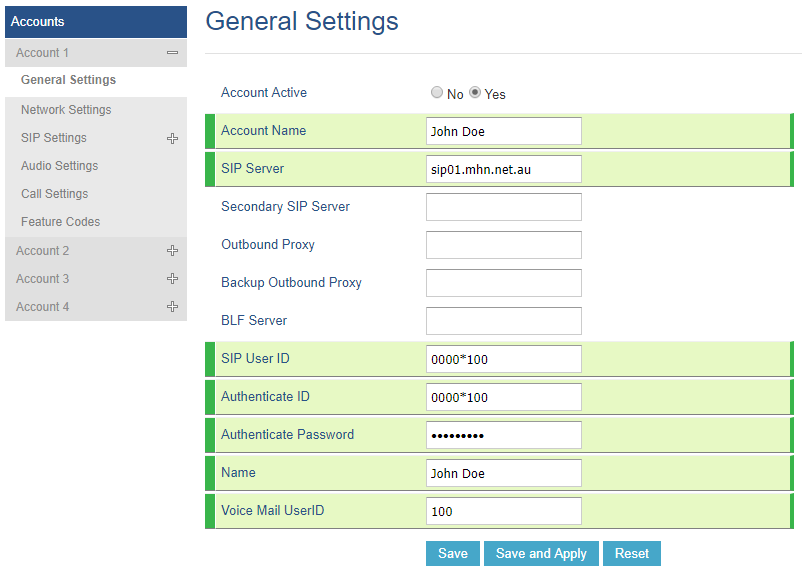
Step 4 - Enter the details of your new VoIP account, below is an example of what needs to be entered:
Account Name - John Doe
This is what appears on the phone when the account is added
SIP Server - sip01.mhn.net.au
SIP User ID - 0000*100
This is the ID generated when the extension is created, it can be found on the extension management page or provided by the service provider
Authenticate ID - 0000*100
Authenticate Password - xxxxxx
This is the password that you set when creating the extension
Name - John Doe
Voicemail ID - 100
This is the 3 digit extension number
Step 5 - Press "Apply and Save" at the bottom of the page to save the settings
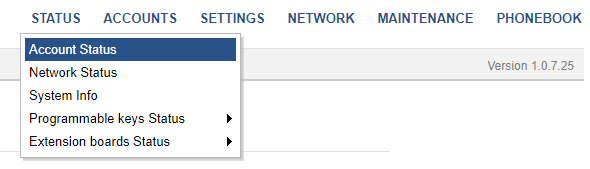
Step 6 - Click "Status" then "Account Status" to check if the extension is registered correctly
If you encounter issues with registering the extension please ensure you can load sip01.mhn.net.au in a browser to make sure the phone is able to contact the SIP server.
Last updated